
Instructions for fitting a T25 swivel seat plate from Just Kampers
First a disclaimer – I am probably one of the worst amateur mechanics out there, follow my advice at your own risk! These are not official instructions, just the method I used through trial and error…
I ordered a T25 Seat swivel plate from Just Kampers, and was confused to find it came with no instructions whatsoever. I wanted to have some idea of how long the job would take, and what work would be involved so started searching the forums. I found some fairly contradictory advice, but was pleased to read that it is a fairly simple job. Basically the plate has seat runners on the top, which the seat attaches to. The bottom of the plate bolts to the top of the existing fixed runners in the van. No welding required. Here are the steps I took to fit it to the passenger side of my T25:-
- Remove the seat
Slide the seat forward as far as it will go, then locate a little lever that stops the seat running all the way off the tracks – with the lever disengaged, it can be slid straight off the front – I had a bit of a fight with the glove box at this point – it might be better to remove the glove box before doing this? - Sit the plate on top of the runners and locate the holes
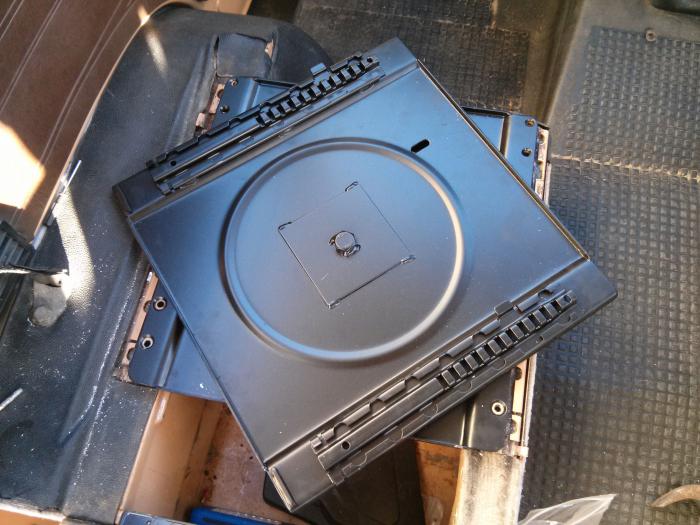
The lever used to lock/ unlock the swivel goes at the front. Unlock the plate and swivel it round so you can access the holes at the back. This confused me at first, I was convinced that i’d need to separate the top and bottom plate to allow access to the holes at the rear, but by rotating it to about 45% (as shown in the photo you can clear one set of the rear holes at a time. - Time to get out the drill?
The T25 only has one set of holes at the rear, but the plate has two – apparently this is because the T2, which this plate also fits, has four holes at the rear?. Some people on the forums suggested just using two rear bolts, others suggested drilling out the second hole so you can fit four rear bolts. I went with the latter, the more bolts the better. I found I needed to widen the existing rear hole slightly (in the runner, not the plate) to allow the bolt through. The rear four bolts are larger than the front – don’t widen the holes at the front of the runners - Slide the provided nut + plate under the runner at the rear
Line up the nuts (which come attached to a steel plate) with the holes, the rear bolts can then be tightened up. - Slide nuts under the front of the runner, and put the front bolts in
It looks like it is is possible to get four bolts in the front. I’m tempted to add the other two, but as the front nuts do not come attached to a plate like the rear, I think it might require improvising to get the second front nut back to where the hole is – maybe gluing a nut to a small strip of cardboard so it can be pushed under and lined up with the rear of the front holes? - What to do with the under-seat compartment door?
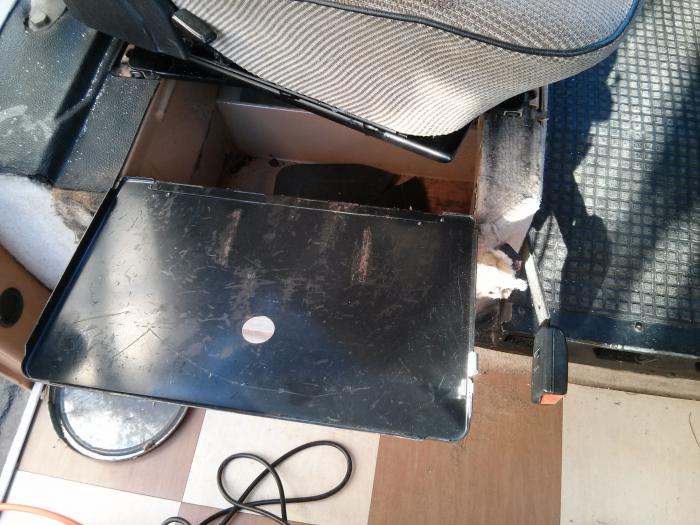
Once the plate is bolted in place, it isn’t possible to open or close the battery/under-seat compartment door. You could have it permanently closed, or half open. Having it permanently closed would obscure a very handy storage compartment, so I chose to remove mine, which required drilling out a few rivets. - Grease the runners, before putting the seat back on
 The handy thing about it being a swivel is that the plate can be rotated to a more convenient angle for putting the seat back on,so you don’t have to squeeze it in against the glove box. Remember the little lever that stops the seat flying off the front also stops it going back on again, so disengage that when the seat stops.